

My first piece of advice is to cut your fingernails down before starting Thomas' face. You'll only get frustrated later when you're nails make unwanted scratches and markings on the face, which really is an important part of Thomas' look. The photos in this tutorial are heavily weighted toward creating the face for this very reason. If the face isn't right, you won't be satisfied with the end result.

One reason I prefer to use this model, is that the width is nearly identical to that of the cake. For that reason, it's pretty easy to pattern after. Depending on how tall you chose to make your cake, you may or may not have the height found in this toy, but honestly I think it's better not to attempt to match the height. You may end up with a cake that wants to fall over if you make it too tall.
I've had many emails about the size of Thomas' face. Since this will be relative to the size of the cake, the size can be smaller or larger than the face in this tutorial. The face you see here measures at around 3 1/3" (84 millimeters).
Here are the basic instructions for creating the face:
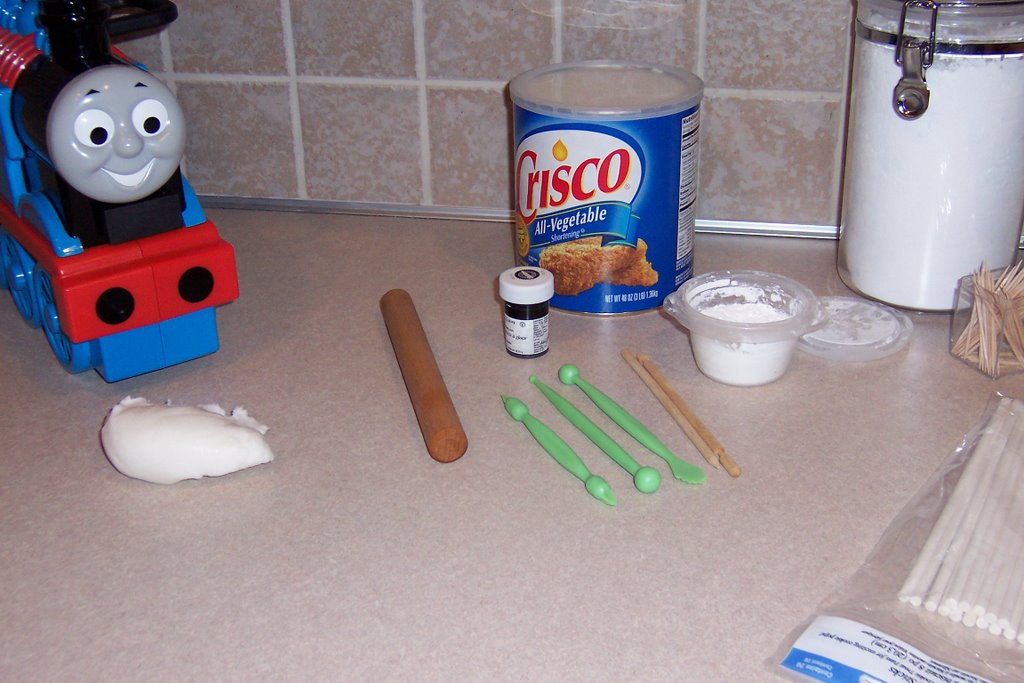
1. Add a small amount of Wilton black color to the end of a toothpick and work into your fondant, (just a handful of fondant). I always add a bit of Crisco to my fingers to make the process a little easier.
2. Keep working the color into the fondant until you're satisfied the shade is right, but remember you only need a dot or two to get this right. If you add too much, you can always pinch off a portion of your fondant and kneed together with a little white fondant to lighten the color, but it's better if you don't have to do this.
No comments:
Post a Comment